


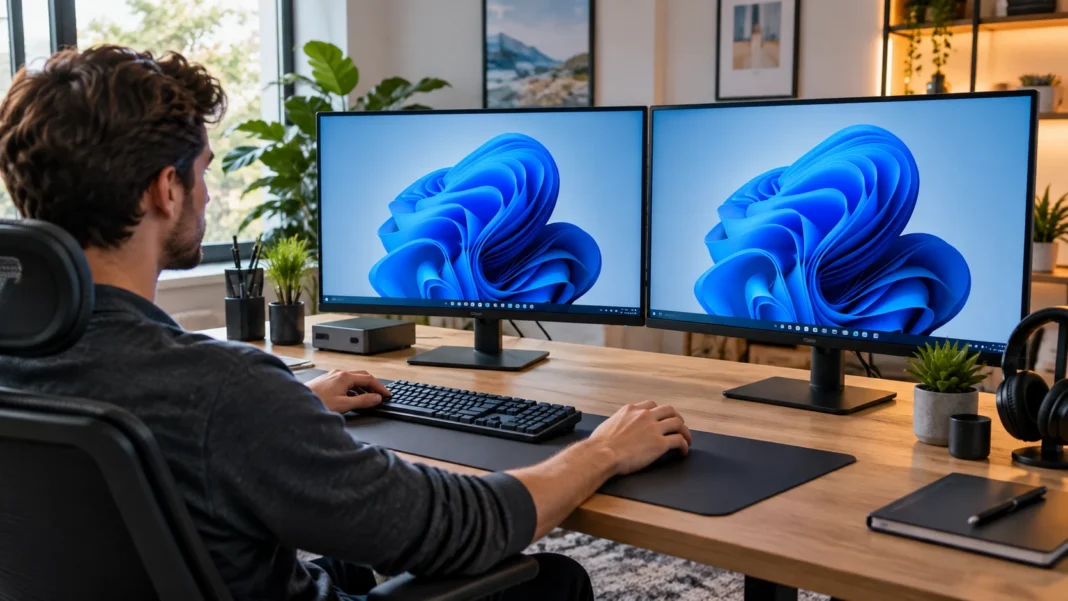
Using two monitors on Windows 11 can make everyday computer work faster and more comfortable. A dual monitor setup gives you extra screen space for multitasking, gaming, video editing, research, online meetings, or managing several applications at once. Instead of constantly switching between windows, you can keep important programs visible across separate displays.
Windows 11 includes built-in multi-monitor settings that make connecting and arranging two screens relatively simple. Once the monitors are physically connected, you can choose how the desktop behaves, adjust resolution and scaling, move the taskbar, select a primary display, and customize each monitor independently.
The exact setup process depends on your computer, graphics hardware, available ports, and monitor connections. This guide explains how to set up two monitors on Windows 11 step by step, including cables, display settings, screen arrangement, troubleshooting, and practical tips for creating a smooth dual-screen workspace.
Check Whether Your PC Supports Two Monitors
Before connecting anything, check whether your computer can support two displays at the same time. Most modern desktop computers and many laptops can handle multiple monitors, but available connections vary. Look for display outputs such as HDMI, DisplayPort, USB-C, Mini DisplayPort, or older connections such as DVI depending on your hardware.
Desktop computers with dedicated graphics cards often have several display outputs directly on the graphics card. If you have a dedicated GPU, connect your monitors to those ports rather than mixing graphics card and motherboard outputs unless your system specifically supports that configuration. This helps avoid detection problems and makes graphics performance more consistent.
Laptop users may have fewer physical display ports, but USB-C docks and compatible adapters can provide additional connections. Check whether your USB-C port supports video output because not every USB-C connection can send a display signal. Knowing your available ports before buying cables or adapters can prevent unnecessary compatibility problems.
Connect Both Monitors to Your Windows 11 PC
Start by turning on both monitors and connecting them to your computer using suitable cables. One screen might use HDMI while the second uses DisplayPort or USB-C, and Windows can normally handle different connection types together. Make sure each cable is fully inserted into both the computer and monitor.
Next, select the correct input source on each monitor. Most displays include buttons or an on-screen menu that lets you choose between HDMI, DisplayPort, USB-C, or another available input. If a monitor says no signal even though it is connected, the wrong input source is often the reason.
Once both displays are connected and powered on, Windows 11 will usually detect them automatically. You may see the desktop appear on both screens or notice that one display becomes an extension of the first. If only one monitor works initially, you can manually detect the second display through Windows settings.
Open Display Settings and Detect Both Screens
Right-click an empty area of the Windows 11 desktop and choose Display settings. At the top of the page, you should see numbered boxes representing the connected monitors. Windows normally labels them as 1 and 2, although additional numbers may appear if more displays have been used previously.
If you are unsure which physical screen corresponds to each number, click Identify. Windows will briefly display a large number on each monitor so you can match the on-screen arrangement with the actual desk setup. This step is useful before changing positions or selecting which monitor should become the main display.
If Windows does not show the second monitor, expand the Multiple displays section and select the option to detect another display. If detection still fails, check the cable, monitor input, adapter, port, and graphics drivers. Trying another cable or display port can quickly reveal whether the issue is hardware-related.
Choose Extend, Duplicate, or Show on One Display
Windows 11 gives you several ways to use two monitors. The most common option is Extend these displays, which creates one large desktop spread across both screens. You can move applications from one monitor to the other, making this mode ideal for work, research, content creation, and multitasking.
The Duplicate these displays option shows the same content on both monitors. This can be useful when giving a presentation, teaching a class, or showing another person the same screen while using separate displays. Because both screens display identical content, you do not gain additional desktop workspace in duplicate mode.
Windows can also show content on only monitor 1 or only monitor 2. You can switch between these modes quickly by pressing Windows + P, which opens the projection menu. Selecting Extend, Duplicate, or one-screen mode from this shortcut is especially convenient when frequently connecting and disconnecting an external monitor.
Arrange Your Monitors in the Correct Position
After selecting Extend mode, arrange the displays so their virtual positions match their physical placement on your desk. In Display settings, drag the numbered monitor boxes left, right, higher, or lower. This determines how the mouse pointer and application windows move between the two screens.
For example, if monitor 2 physically sits to the right of monitor 1, place its numbered box on the right side in Windows settings. If the positions are reversed, your cursor may appear to travel in the wrong direction when moving between screens. Correct arrangement makes the setup feel natural almost immediately.
The displays do not need to be exactly the same height. If one monitor sits higher than the other, you can adjust the vertical position of the boxes to better match your real desk arrangement. Fine-tuning these positions can prevent the mouse from unexpectedly jumping near the top or bottom edges.
Set the Primary Monitor in Windows 11
The primary monitor is the display Windows treats as your main screen. Important system elements such as the Start menu location, desktop icons, and newly opened applications may initially favor this display. Choosing the monitor directly in front of you as the main screen usually creates the most comfortable workspace.
Open Display settings and click the monitor you want to use as your primary display. Expand Multiple displays, then select Make this my main display. Windows will immediately update the desktop behavior, although applications that are already open may remain on their current screens.
Your second monitor can then be used for supporting tasks such as email, chat, documents, reference material, analytics dashboards, or video playback. There is no universal best arrangement, so choose the primary display based on which screen you use most frequently and what type of work you usually perform.
Adjust Resolution and Display Scaling
Each monitor should normally use its recommended resolution to provide the clearest image. Select a monitor inside Display settings and find Display resolution under Scale & layout. Windows usually marks the native resolution with a Recommended label, making it easy to choose the setting designed for that specific display.
Scaling controls how large text, icons, menus, and interface elements appear. Higher-resolution monitors may require increased scaling so text remains comfortable to read. Windows allows you to use different scaling levels on each monitor, which is particularly useful when pairing displays with different sizes or pixel densities.
If one monitor looks blurry or everything appears unusually large, check both resolution and scaling before changing other settings. Using a non-native resolution can reduce sharpness, while unsuitable scaling can make the interface uncomfortable. A correctly configured display should provide clear text while keeping applications and controls at a practical size.
Set Different Refresh Rates for Each Monitor
Refresh rate determines how many times a display updates its image each second. Standard office monitors often run at 60 Hz, while gaming and high-performance displays may support 120 Hz, 144 Hz, 165 Hz, or higher. Windows 11 allows each connected monitor to use its own supported refresh rate.
Go to Display settings, choose a monitor, and open Advanced display. From there, select an available refresh rate supported by the monitor, graphics hardware, cable, and connection. If a high-refresh monitor is stuck at 60 Hz, the wrong cable or display port may sometimes be limiting its capabilities.
Higher refresh rates can make cursor movement, scrolling, animations, and games appear smoother. However, both monitors do not need to run at the same refresh rate. A common setup might use a high-refresh gaming display as the main monitor and a standard 60 Hz screen for communication, browsing, or reference material.
Customize Taskbar and Window Behavior
Windows 11 can display the taskbar across multiple monitors, making applications easier to access regardless of which screen you are using. Open Settings > Personalization > Taskbar and review the taskbar behavior options. Multi-display settings allow you to control where taskbar buttons appear when applications are open.
Snap layouts also become especially useful with two screens. Hover over the maximize button of a window or press Windows + Z to access different arrangements. You can place several windows neatly across both monitors instead of manually resizing everything each time you begin working.
Windows also remembers monitor positions and can often restore applications to their previous displays after reconnecting screens. This is useful for laptop users who regularly connect to a desk setup. Keeping your display arrangement consistent makes it easier for Windows to restore windows where you expect them to appear.
Fix a Second Monitor That Is Not Detected
If Windows 11 does not detect your second monitor, begin with the simplest checks. Confirm that the display has power, the correct input source is selected, and the video cable is securely connected. Disconnecting and reconnecting the cable can sometimes restore the signal immediately.
Try another cable or port if the problem continues. Adapters and inexpensive docking devices can occasionally cause compatibility issues, especially with high resolutions or refresh rates. Testing the monitor individually on the same computer can help determine whether the problem involves the screen, cable, adapter, graphics port, or Windows configuration.
Graphics drivers can also affect multi-monitor detection. Open Windows Update or your graphics hardware software and check whether an appropriate driver update is available. If the second display previously worked and suddenly disappeared, restarting the computer after reconnecting both monitors can also resolve temporary display configuration problems.
Create a Comfortable Dual Monitor Workspace
Good physical positioning matters just as much as Windows settings. Place your primary monitor directly in front of your normal sitting position and keep the second screen close enough that you do not repeatedly twist your neck. If you use both displays equally, positioning them more symmetrically may feel more comfortable.
Try to align monitor heights so the top portions of both screens sit at similar levels when possible. Monitor arms or adjustable stands can make this easier, particularly when using displays from different manufacturers. Reducing excessive gaps between screens also helps your eyes move naturally from one display to another.
Finally, think about how you divide tasks between the screens. You might keep your main work application on one monitor while placing research, communication, or reference material on the other. A consistent layout reduces unnecessary window switching and helps you gain the productivity benefits that make a dual monitor setup worthwhile.
Conclusion
Setting up two monitors on Windows 11 is straightforward once your computer has the right display connections. Connect both screens, open Display settings, identify their positions, and choose Extend mode if you want additional desktop space. Windows gives you flexible controls for arranging monitors according to your physical workspace.
You can then customize each screen independently by adjusting resolution, scaling, refresh rate, and main display settings. Features such as Snap layouts, multi-monitor taskbar options, and remembered window positions make everyday multitasking easier. Correct settings are especially important when the two monitors have different sizes or specifications.
If the second monitor is not detected, check the cable, input source, ports, adapters, and graphics drivers before assuming something is broken. Once everything is configured properly, a dual monitor setup can provide a more organized, spacious, and productive Windows 11 workspace for work, gaming, study, and creative tasks.
FAQs
How do I make Windows 11 recognize my second monitor?
Open Settings > System > Display, expand Multiple displays, and use the detect option. If it still does not appear, check the monitor input, cable, display port, adapter, and graphics driver.
Should I duplicate or extend my monitors?
Choose Extend if you want additional desktop space and independent applications on each screen. Duplicate is better for presentations or situations where both monitors need to show exactly the same content.
Can I use two monitors with different resolutions?
Yes. Windows 11 allows each monitor to use its own resolution, scaling, and refresh rate. Selecting the recommended native resolution for each display usually provides the sharpest image.
How do I choose which monitor is the main display?
Open Display settings, select the monitor you want, expand Multiple displays, and choose Make this my main display. Windows will then treat that screen as your primary monitor.
Why does my mouse move the wrong way between monitors?
Your virtual monitor arrangement probably does not match the physical setup. Open Display settings and drag the numbered displays into the correct left, right, or vertical positions, then apply the changes.